How to fix steel pipes without welding or soldering
29th October, 2019
As the colder months draw in, the risk of a burst pipe becomes more likely. Not only can welding and soldering be time-consuming and potentially costly, but they are also not instant solutions. There is another solution to fixing your damaged pipes, and that is with a fibreglass pipe repair kit or Pow-R Wrap.
What causes a pipe to become damaged?
From a drop in temperature to general wear and tear, there are many ways a pipe can become damaged. Many causes of pipe leaks are out of our control and it’s a good idea to be prepared for broken pipes to prevent too much disruption.
Temperature change
Drastic changes in temperature, usually from the cold weather, can lead to damaged pipes. When temperatures plummet, the water in the pipes can become frozen which causes a pressure back up and burst. This will not only disrupt the water supply but will also affect the heating of a building.
High water pressure
Water pressure is the force that pushes the water through the pipes and around a building’s utility system. When the pressure becomes too high, it can damage the pipes and plumbing fixtures which could cause a flood. The main causes of high water pressure include; trapped air in the water pipes, reconfiguration of the water supply network and the local water supplier.
Corrosion
Wear and tear and negligence are two of the main causes of pipe corrosion. Many types of corrosion can occur which include; galvanic corrosion (occurs when dissimilar metals are placed in water), deposits that remain in pipes after construction, erosion due to abrasion and water temperature. All of these factors can cause a pipe to corrode in small or large areas and lead to damage.
How to fix a damaged pipe
Many peoples’ initial reaction to a damaged pipe is to get in touch with a professional or attempt to solder or weld the gap themselves. This can cause more harm than good if they are not fully knowledgeable in these techniques. Instead, a fibreglass pipe repair kit, Pow-R Wrap, can be an equally as effective solution. But how does this work?
Preparation
Before applying the pipe repair wrap to the damaged pipe, all pressure must be removed. After this, the broken area should be wiped free of any oil, grease, loose rust scale, sealant tape, paint or hardware to help with adhesion. Finally, you should wear latex gloves to protect your hands from any of the components.
Installation
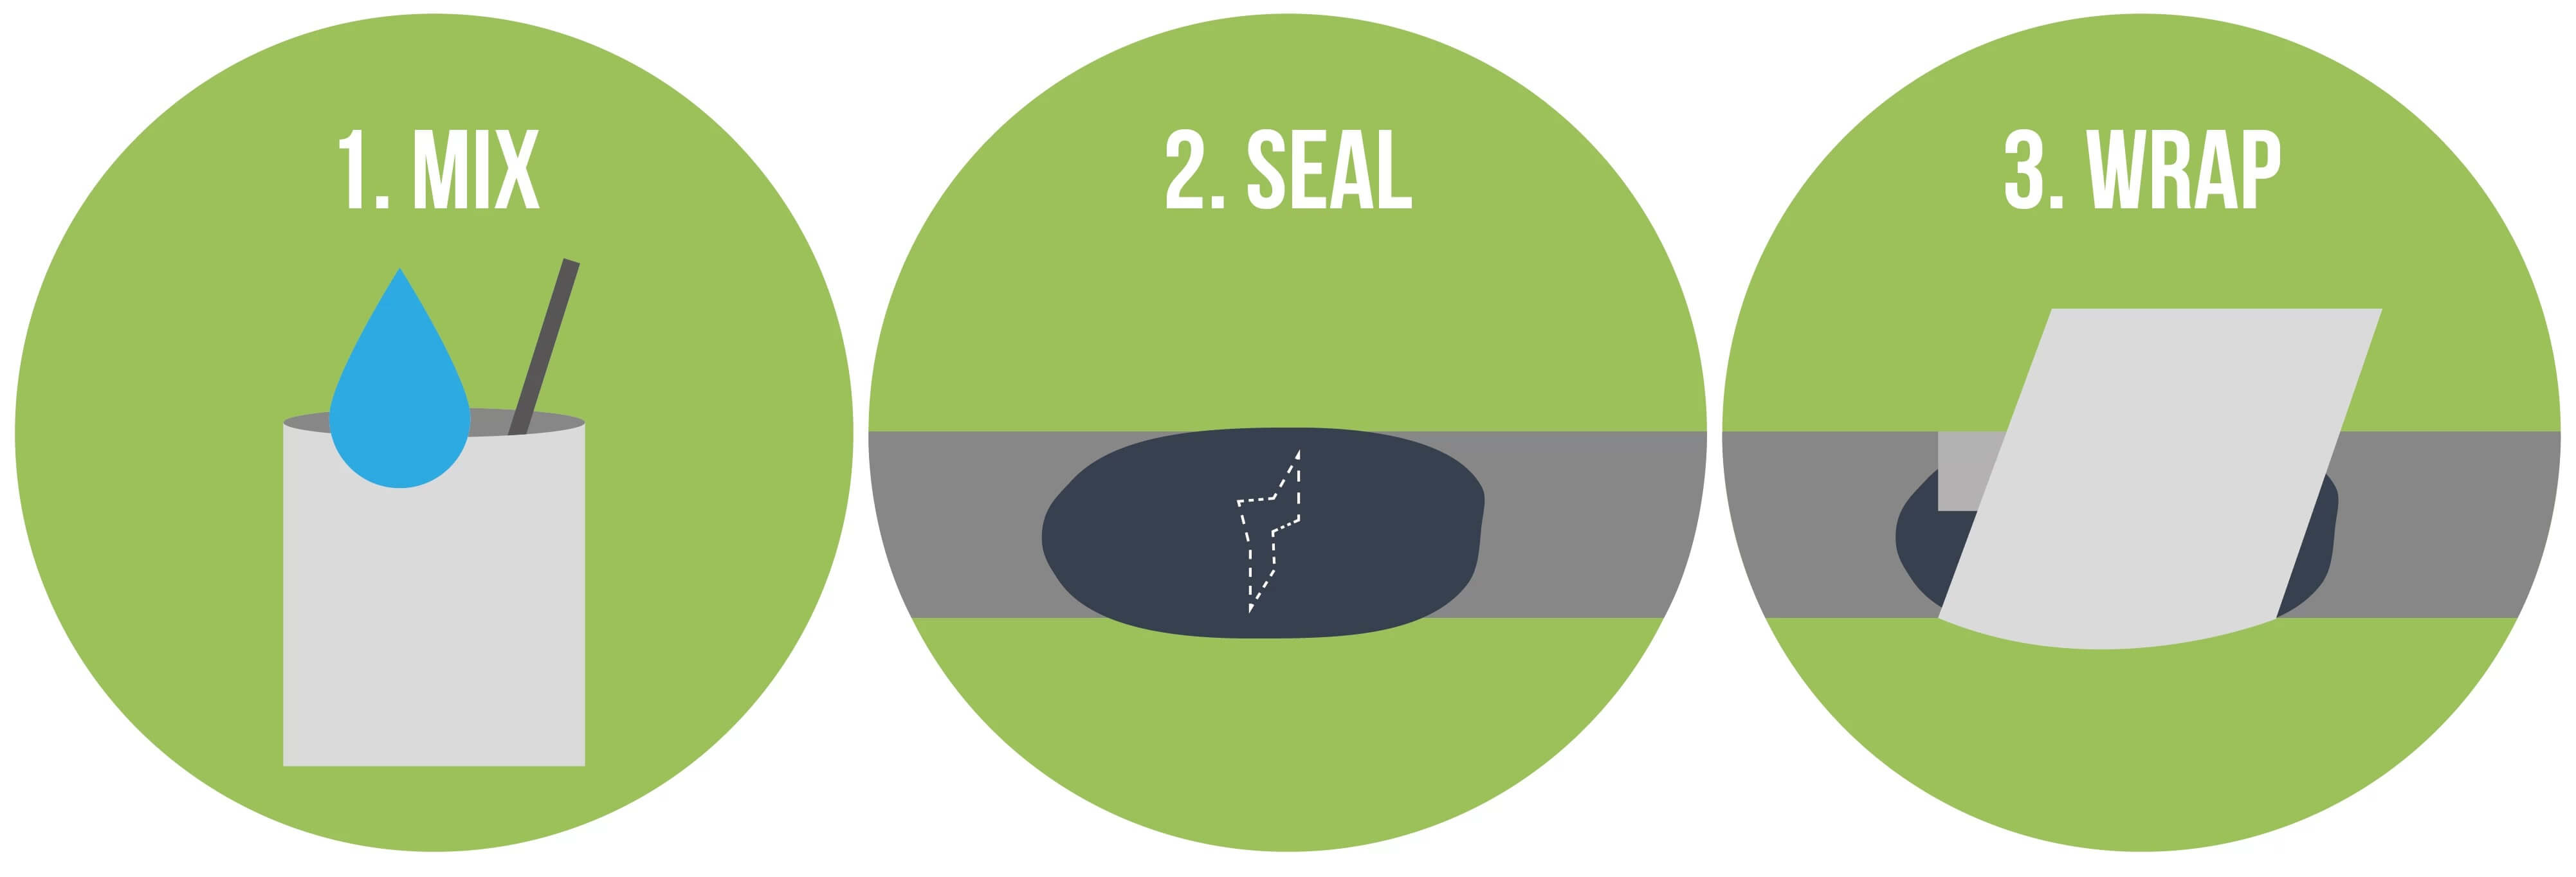
After you have prepared for adhesion, you can begin the installation process. First of all, you must knead the putty until it is uniform in colour, after this, it can be applied to the damaged area. You can then follow the next three steps:
Step 1:
Open the foil pouch that contains the Pow-R Wrap and add water. To ensure that the water reaches all areas of the tape, squeeze the pouch for 20-30 seconds.
Step 2:
Apply the wrap to the opposite side of the break first of all and begin to wrap around the pipe, you should do this before the putty hardens.
Step 3:
Continue to wrap around the pipe until the leaking area has tape applied 2 inches (5cm) on either side of the leak. You should wrap until there are 8-10 layers over the broken area. Once all tape has been applied, use both hands to squeeze over the area firmly and rotate your hand in the direction of the wrap to tighten the layers. Once the wrap is fully cured, you can sand and paint the area.

As we can see, there are many causes of pipe breakage and damage. However, there is a less expensive option to that of soldering and welding and it doesn’t require any tools or additional resources. Find out more about Pow-R wrap, get prepared for the colder weather and place your order here.


